
Just Out of the Box
Posted by Vic Tesolin on 8th Dec 2023
Blog Post & YouTube Video
The excitement has been mounting. You have been waiting for your new MTC tool to arrive and you just can’t wait to tear into that box and get that tool to work. But before you get too ahead of yourself, there are a few things we recommend you do to your brand new tool. While our planes will make shavings right out of the box, taking few minutes to do a final honing will help to make sure that you get the most out it.
The Box
Some plane owners are box keepers, others not so much. More importantly is the insert that is in the box. This closed-cell foam is French-fitted to the plane and is a great storage solution for it. Some of my tools are kept in drawers and this foam insert is just the thing to keep the plane safe from knocks and nicks. They are also handy if you have to travel with your tools. They stack nicely in a toolbox or bag keeping them secure.

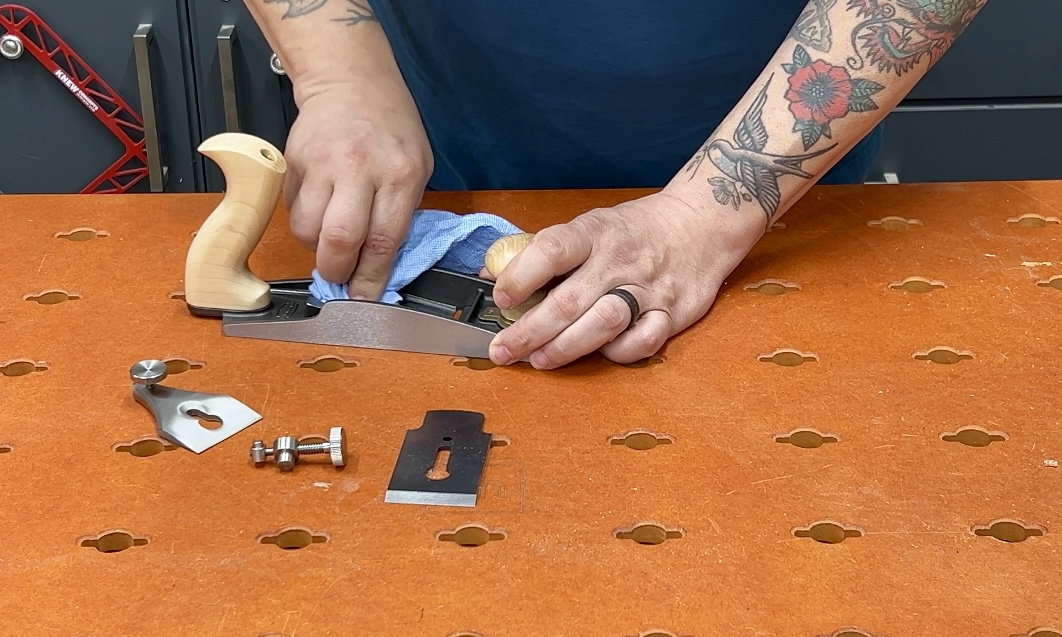
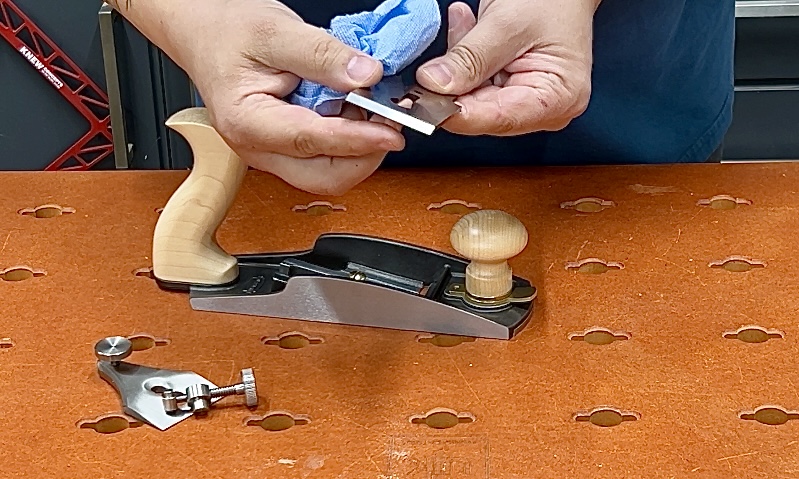
Sponge Bath
Once you pull your tool out, you will notice that it’s wrapped in paper and coated with anti-corrosion lubricant. This keeps it rust free during its long, overseas trip. Removing the oil is a simple matter of wiping it off with a rag or towel. Don’t forget to remove the metal parts from the tool and get into any hidden areas. If you have some stubborn spots or want to be sure it’s all removed, you can wipe the plane down with spirits. Now, don’t reassemble things, we have some more work to do.
Blade Love
The blades of the tools are well ground and reasonably flat, that said, you should do a bit of work to get it all the way home. The leading 25mm (or so) on the back of the blade should be flat and polished. Start with some coarse media (1000 grit or coarser), working the back until you get consistent scratch marks. Move up to a medium grit media (4000 grit or so) and work the same area, striving to remove all the scratch marks left by the coarse grit. Finally, finish off with a fine media (8000 grit), removing all the scratch marks from the medium grit. Following this, all that’s left is to hone and polish the bevel to the same fine grit. Ensure any burr created by working the bevel is removed.
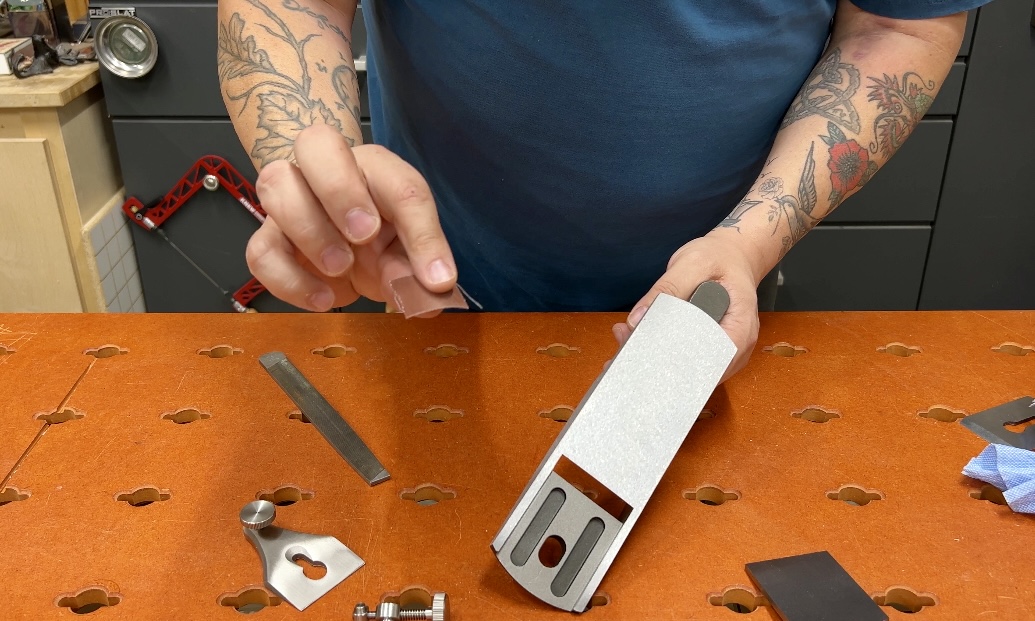
Pesky Body Burrs
Sometimes there are sharp edges or burrs caused by machining and grinding operations at the factory. You may have noticed them as you wiped the rust-inhibitor from the plane. It’s important to remove these because they can be sharp and cause a cut. They can also leave marks in the wood as you work, so you want them gone. The best tool I’ve found for removing burrs is a small mill file and a bit of 600 grit sandpaper made for removing metal.
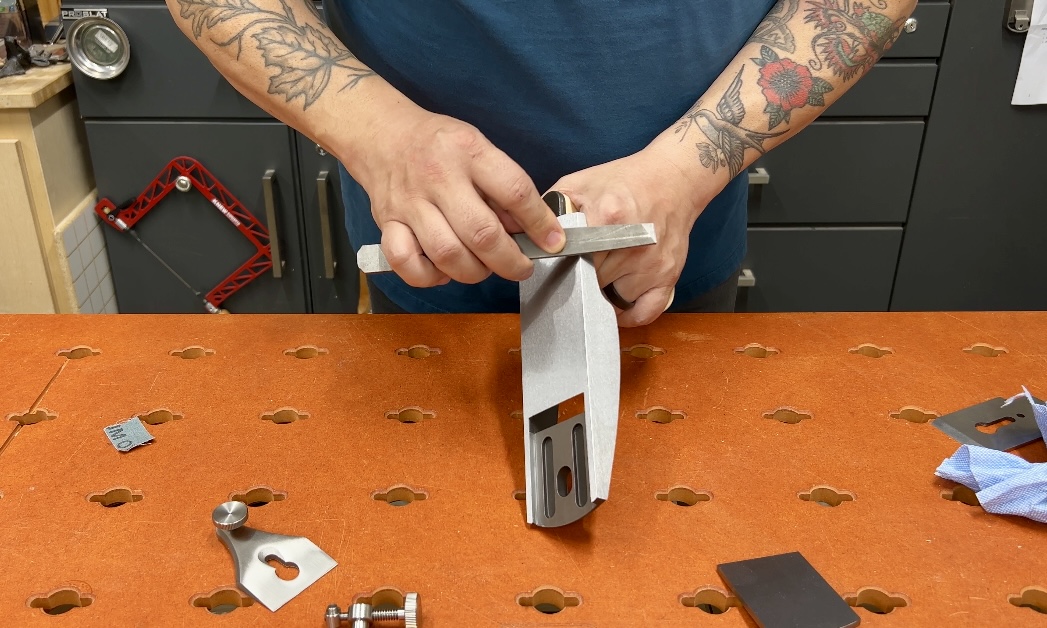
Simply run the file along the corners that are formed from two bare-metal surfaces. You don’t have to be exacting here; you’re essentially trying to create a small (<0.5mm) round over. Not only does this remove the burrs, but it also helps prevent new ones from raising due to an accidental bump into something hard like another tool. Once you’re done with the file, follow up with a few passes with the sandpaper to smooth things out and remove any marks that the file makes.
Final Steps
Now, wipe down the plane with an oily rag to help keep rust at bay and reassemble your tool. What kind of oil? Any light oil will do the trick, as long as it doesn’t contain any silicone. Silicone will prevent finishes from sticking to the surface of the wood – not a problem you want in your shop.
Your tool is now ready for action!
Don’t forget to keep those blades sharp and have fun in the shop.