
Mastering End Grain with a Low-Angle Jack Plane and Shooting Board
Posted by Vic Tesolin on 5th Apr 2024
End grain can be a woodworker's nemesis. However, with the right tools and techniques, you can tame this unruly aspect of woodworking and achieve clean, smooth end-grain surfaces that rival the beauty of any other wood surface. In this guide, we'll explore how to effectively shoot end grain using a low-angle jack plane and a shooting board.
Understanding the Challenge of End Grain
End grain poses unique challenges because the fibres are oriented perpendicular to the surface being worked on. When you plane across the end grain, it's easy to encounter tear-out and splintering, leading to a rough surface. Traditional bench planes, with their higher cutting angles, can exacerbate this issue. That's where a low-angle jack plane comes into play.
The Low Angle Jack Plane: Your End Grain Ally
A low-angle jack plane is specifically designed to handle difficult grain situations such as end grain. With a bed angled at 12 degrees and a 25-degree blade, it slices through wood fibres more cleanly, minimizing tear-out. Additionally, the lower angle allows for easier control and smoother operation.
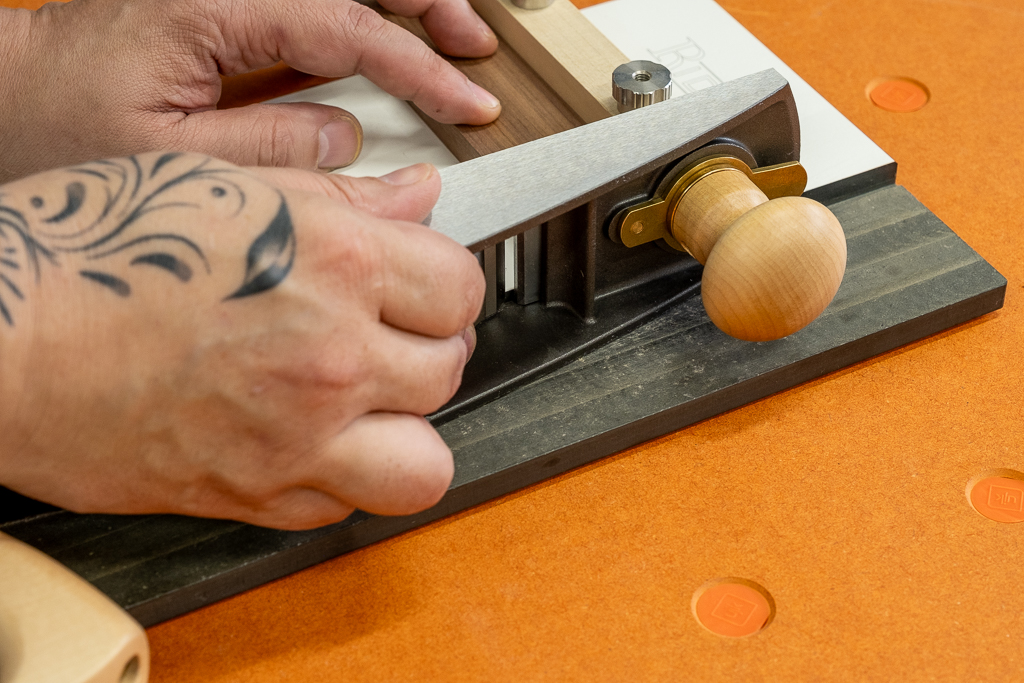
Shooting Board
A shooting board is an essential accessory for shooting end grain. It provides a stable platform for your workpiece while offering a precise angle for planing. Typically, a shooting board consists of a flat base with a fence set at a 90-degree angle to the base, creating a corner against which you can place your workpiece.
Step-by-Step Guide to Shooting End Grain
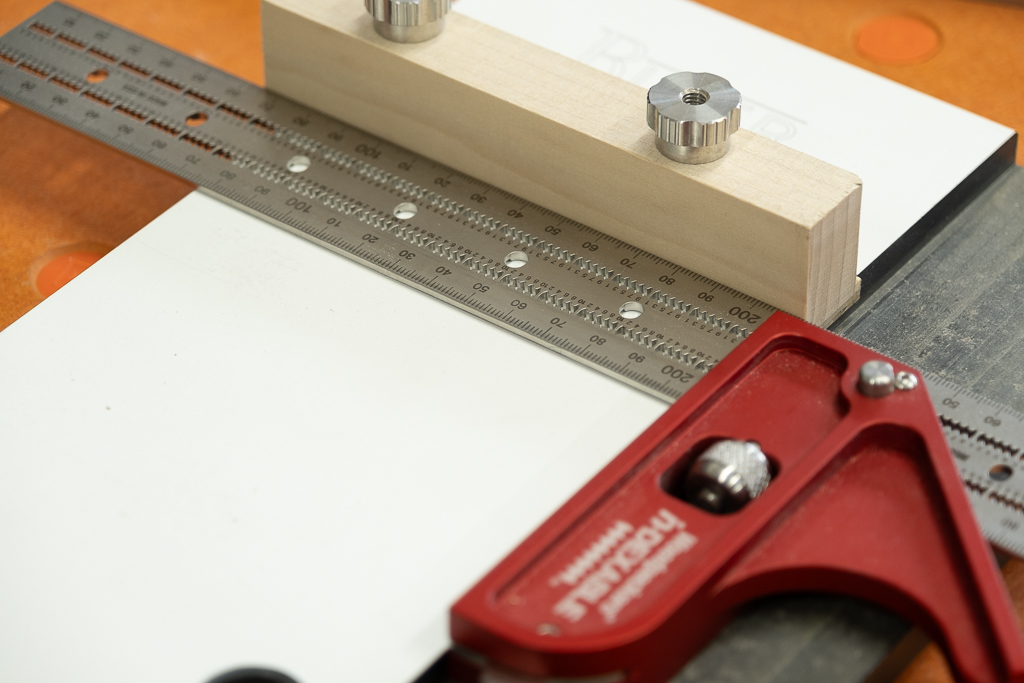
1. Prepare Your Shooting Board: Ensure that your shooting board is flat and stable. The fence should be securely attached and set perfectly square to the base. It pays to take the time to make this fixture as accurate as possible. You can also use a commercially available shooting board if you prefer.
2. Set Up Your Low-Angle Jack Plane: Sharpen the blade of your low-angle jack plane to a razor edge. No operation depends on a sharp blade more than shooting end grain, so don’t be tempted to take shortcuts. Adjust the blade depth to take a fine shaving and ensure it's set parallel to the mouth of the plane.
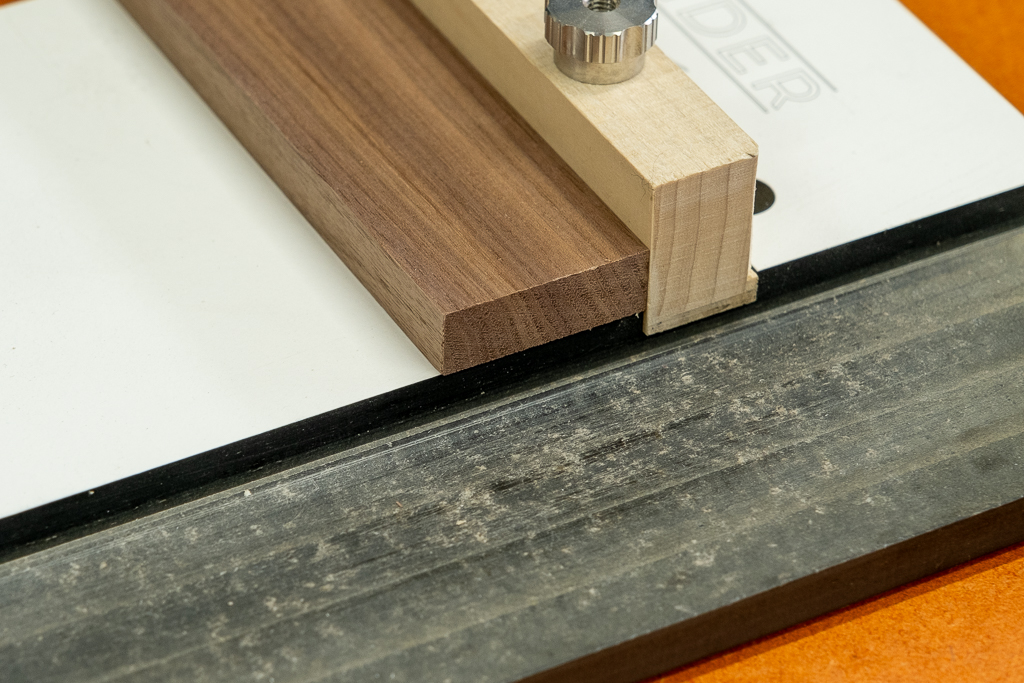
3. Position Your Workpiece: Place your workpiece against the shooting board fence, ensuring that the end grain is facing outward.
4. Place Your Plane: Position the low-angle jack plane on the shooting board, putting pressure down on the plane track and into the fence on the bottom of the plane.
5. Begin Planing: With a firm grip on the plane, push it forward in a smooth motion, keeping pressure evenly distributed. Take light passes, gradually removing material until you achieve a clean, smooth surface. Avoid putting lateral pressure on the top side of the plane, as it will cause the plane to lean in and create a non-square result.
6. Check Your Progress: Periodically check your work to ensure that you're maintaining a square edge and achieving the desired surface quality. If the end grain is not perpendicular to the long grain edge, then there is a good chance that the fence is not straight. If the end grain is not square, then adjust the lateral adjuster on the plane in the direction that it is cutting deeper and try again.
It is a common misconception that planes need to have sides that are perfectly square to the sole in order to shoot with them. The truth is that as long as you can adjust the blade laterally, you will be able to bring the blade into square, thus creating a square result.

Shooting end grain with a low-angle jack plane and shooting board may seem daunting at first, but with practice and patience, you can master this essential woodworking skill. By understanding the unique challenges posed by end grain and employing the right tools and techniques, you'll produce clean, square surfaces. So, grab your plane, set up your shooting board, and tackle those end-grain surfaces with confidence!
To understand, you must do.
Vic Tesolin